Replying to emails can quickly become monotonous and stressful when you want to write without being misunderstood. Most likely, you will edit the emails repeatedly while trying to find the perfect words to convey your message.
This is often time-consuming unless you use Content AI.
With essential details fed in, our Content AI can craft the perfect email reply in a few seconds. In this knowledgebase article, we will show you how to create an email reply with Content AI.

Table Of Contents
1 Creating an Email Reply
Creating an email reply requires careful consideration of the recipient’s needs and expectations. Let us now create an email reply to provide a clear and concise response, addressing all relevant points and inquiries with the Email Reply AI tool.
1.1 Enable the Content AI Module
The first step is to head over to Rank Math SEO → Dashboard → Modules from your WordPress dashboard. Here, scroll down to find the Content AI module and enable it as shown below if you haven’t already.

Note: If you ever run out of credits, you can subscribe to a Content AI plan that aligns with your requirements.
1.2 Select the Email Reply AI Tool
Next, head over to Rank Math SEO → Content AI → Content Editor, as shown below.
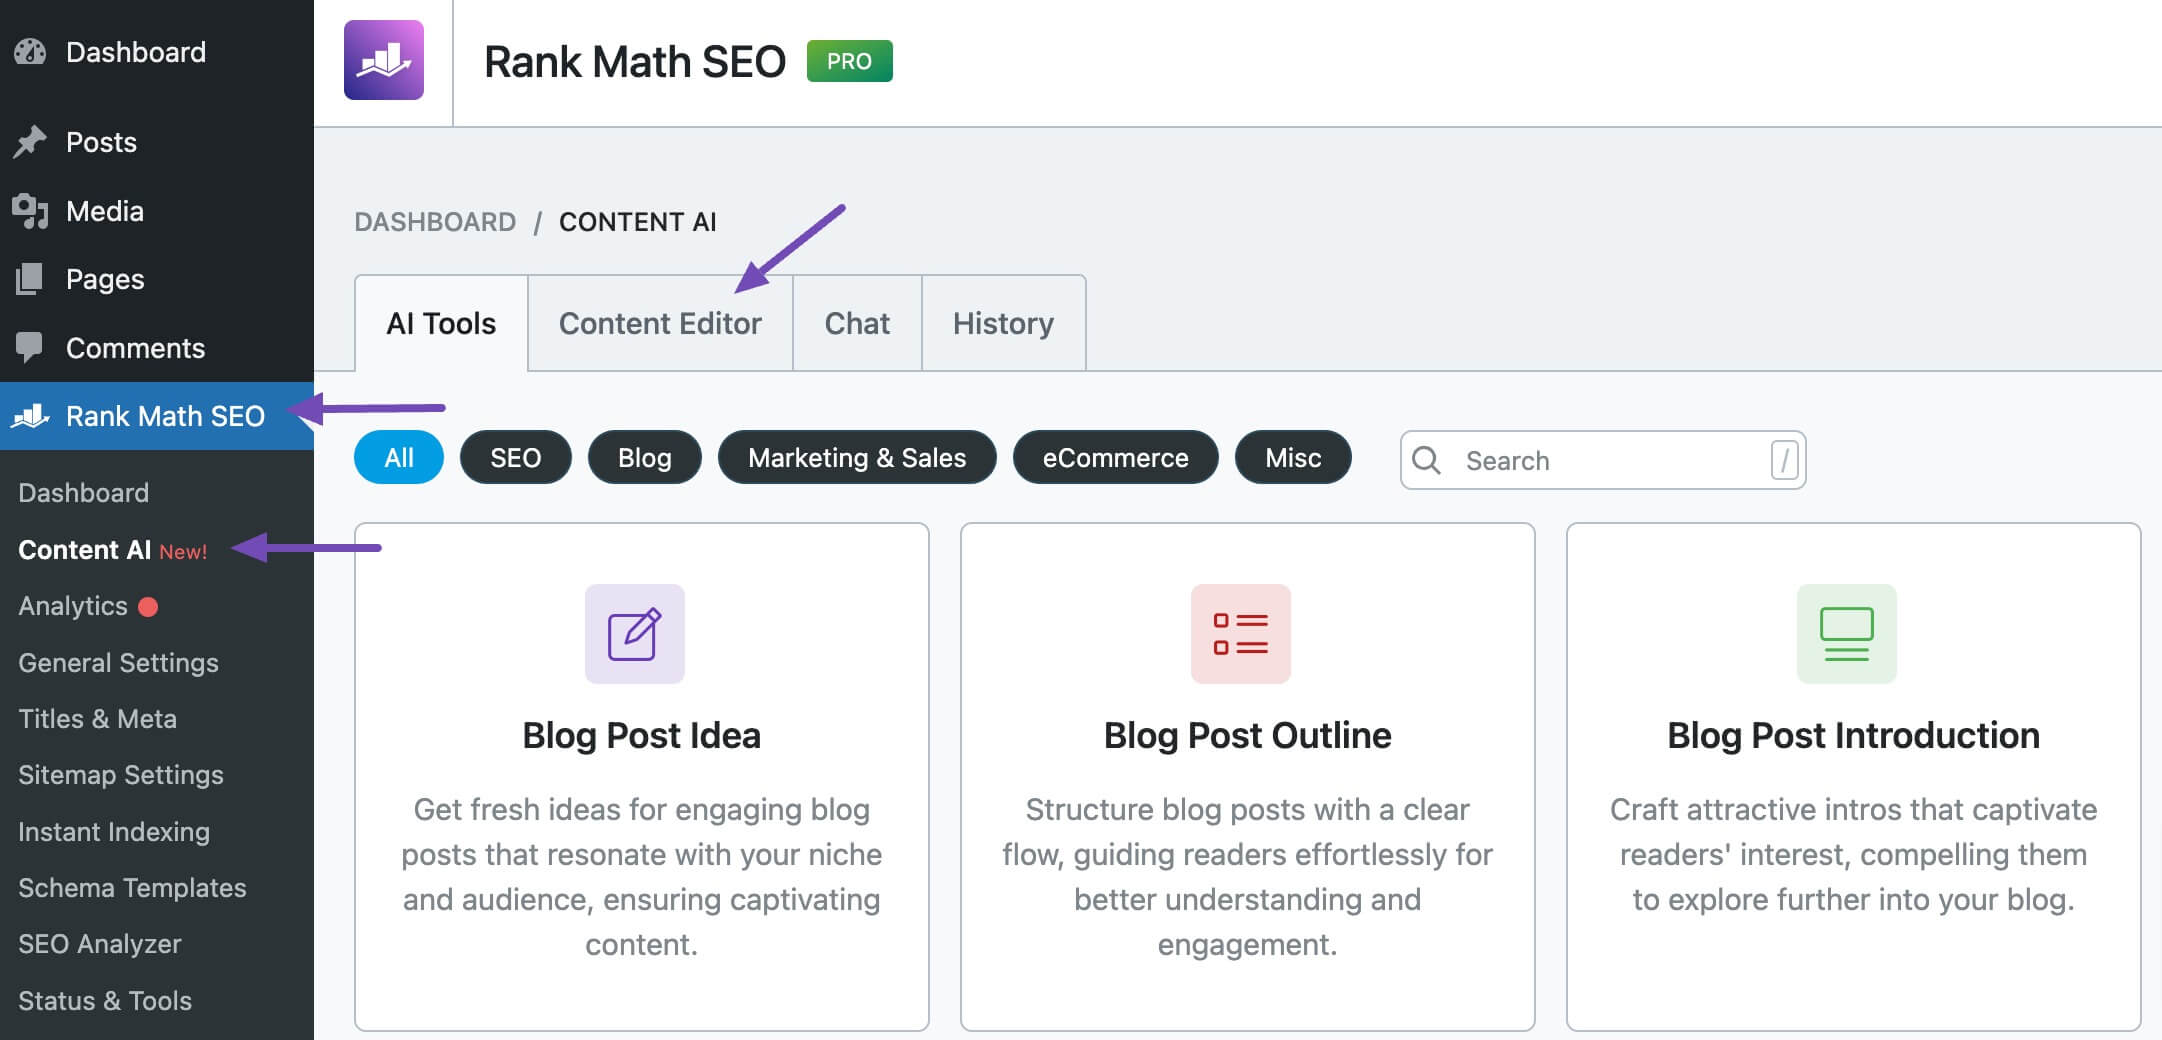
In the Content Editor, click AI Tools and select Email Reply. Alternatively, you can choose the Email Reply AI tool from your favorite WordPress Editors or from the AI Tools tab, whichever suits your writing flow.
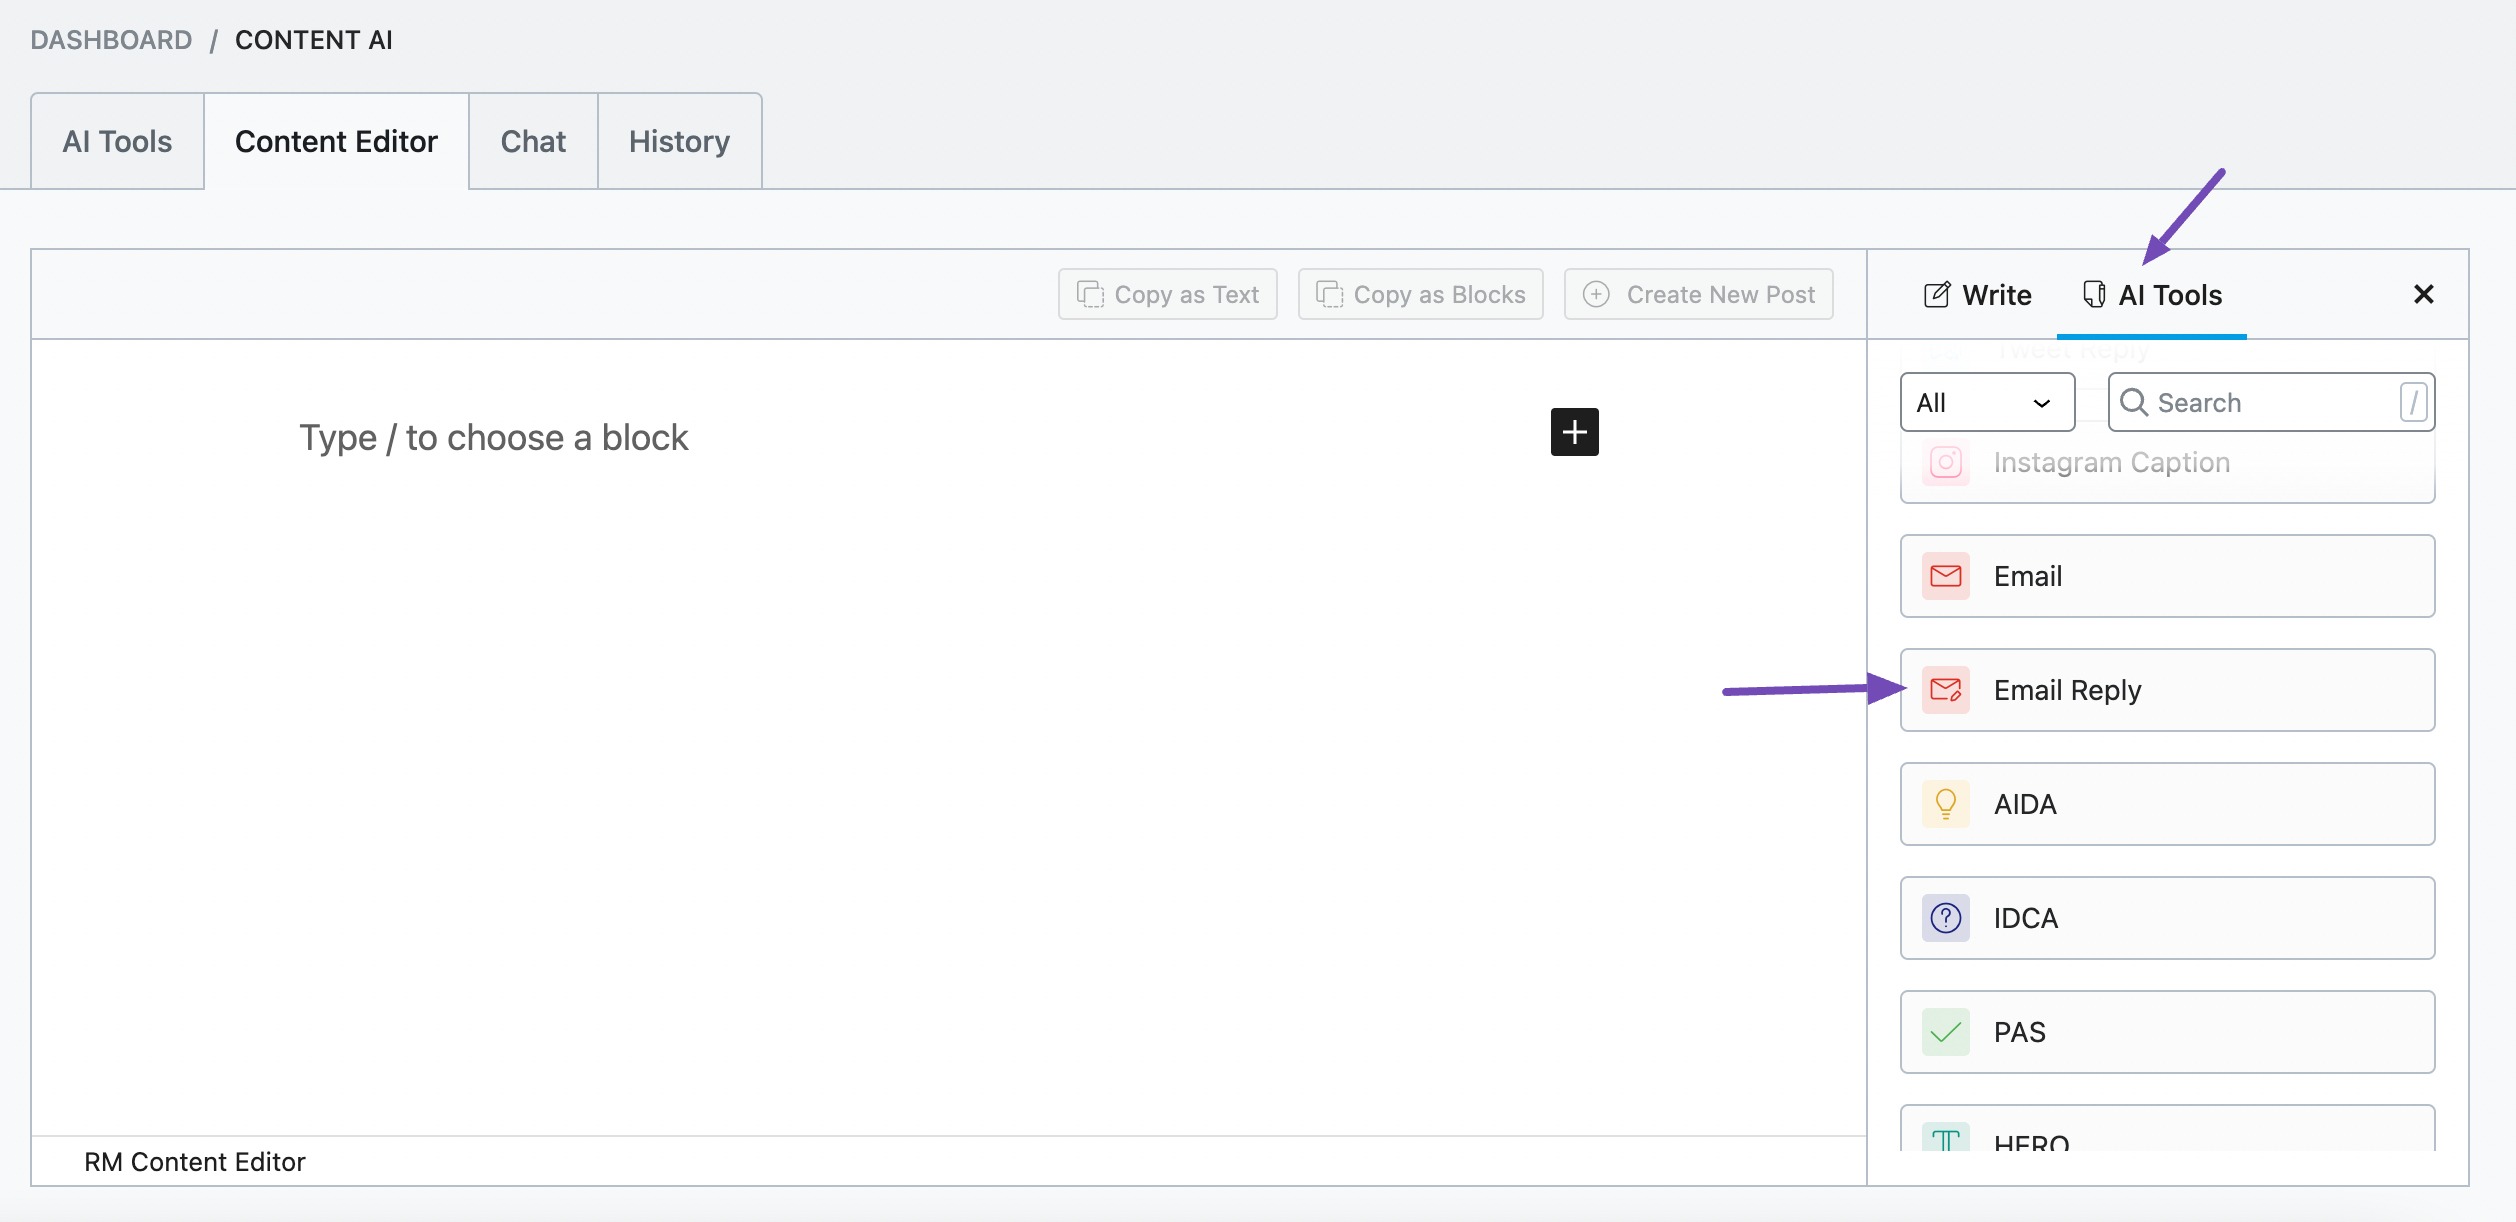
You will be presented with the Email Reply AI tool settings. Let’s discuss each of these fields one by one.
2 Available Options in the Email Reply AI Tool
Let us now discuss the options available in the Email Reply tool.
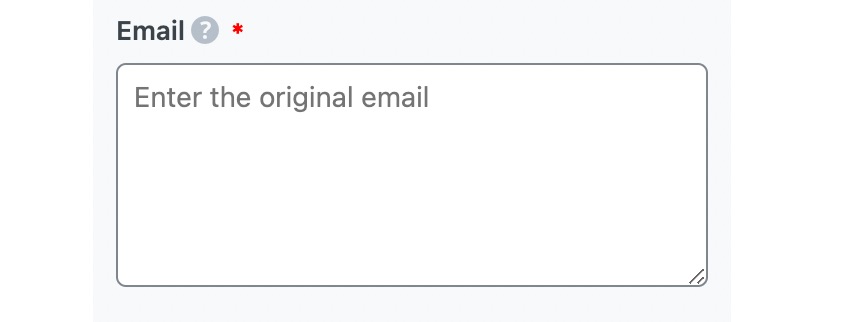
2.1 Email
In 1000 characters or less, enter the email you want to reply to into this field. You can also include the Email signature to help Content AI personalize the email response.
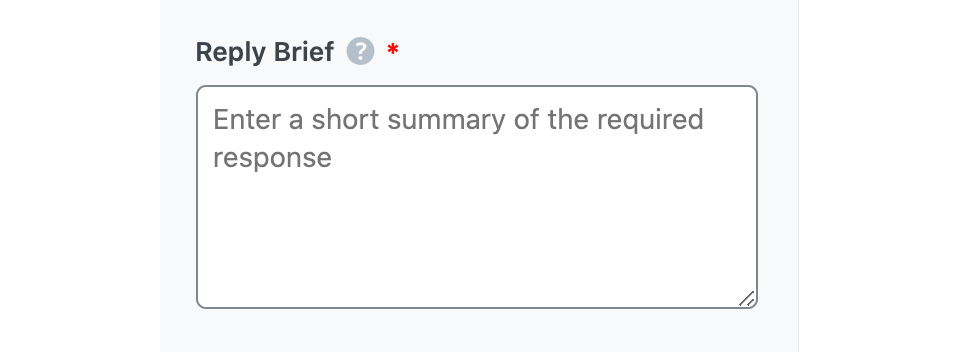
2.2 Reply Brief
In no more than 400 characters, enter a short description of the response you want Content AI to create. If you need assistance, fill in the gap in the below text and paste it into the field.
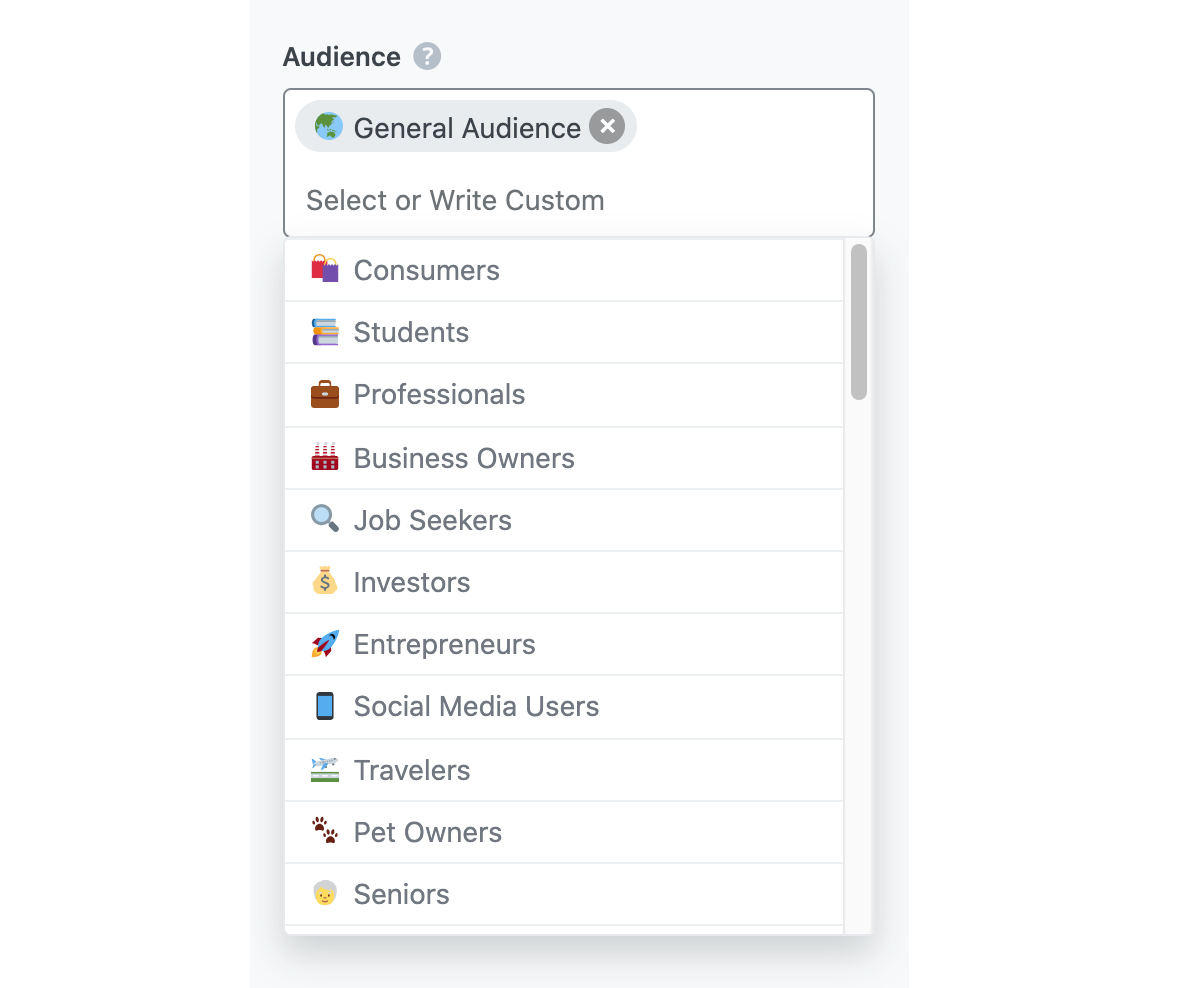
2.3 Audience
Select the option that best describes your target audience in this field. You can type in the word or select from the dropdown menu. You can enter multiple audiences.
See the full list of all the Audience options we offer ➜
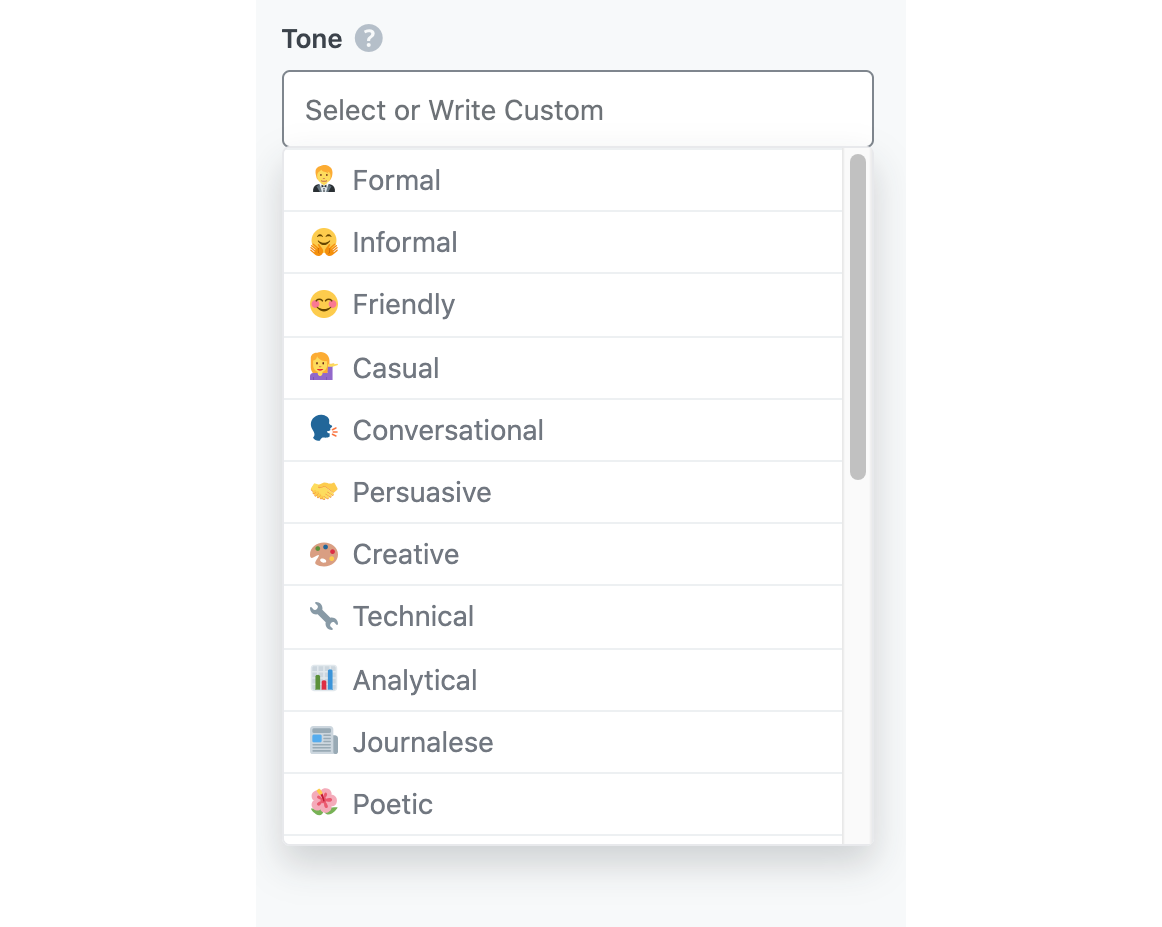
2.4 Tone
Select the option that best describes your writing tone in this field. You can type in the word or select from the dropdown menu. You can enter multiple tones.
See the full list of all the Tone options we offer ➜
2.5 Length
Here, you will set the word count of the reply. This required field contains three options: short, medium, and long.
- Short will generate an email response with 1 or 2 sentences
- Medium will create an email response with 3-4 sentences
- Long will create an email response with at least 5 sentences

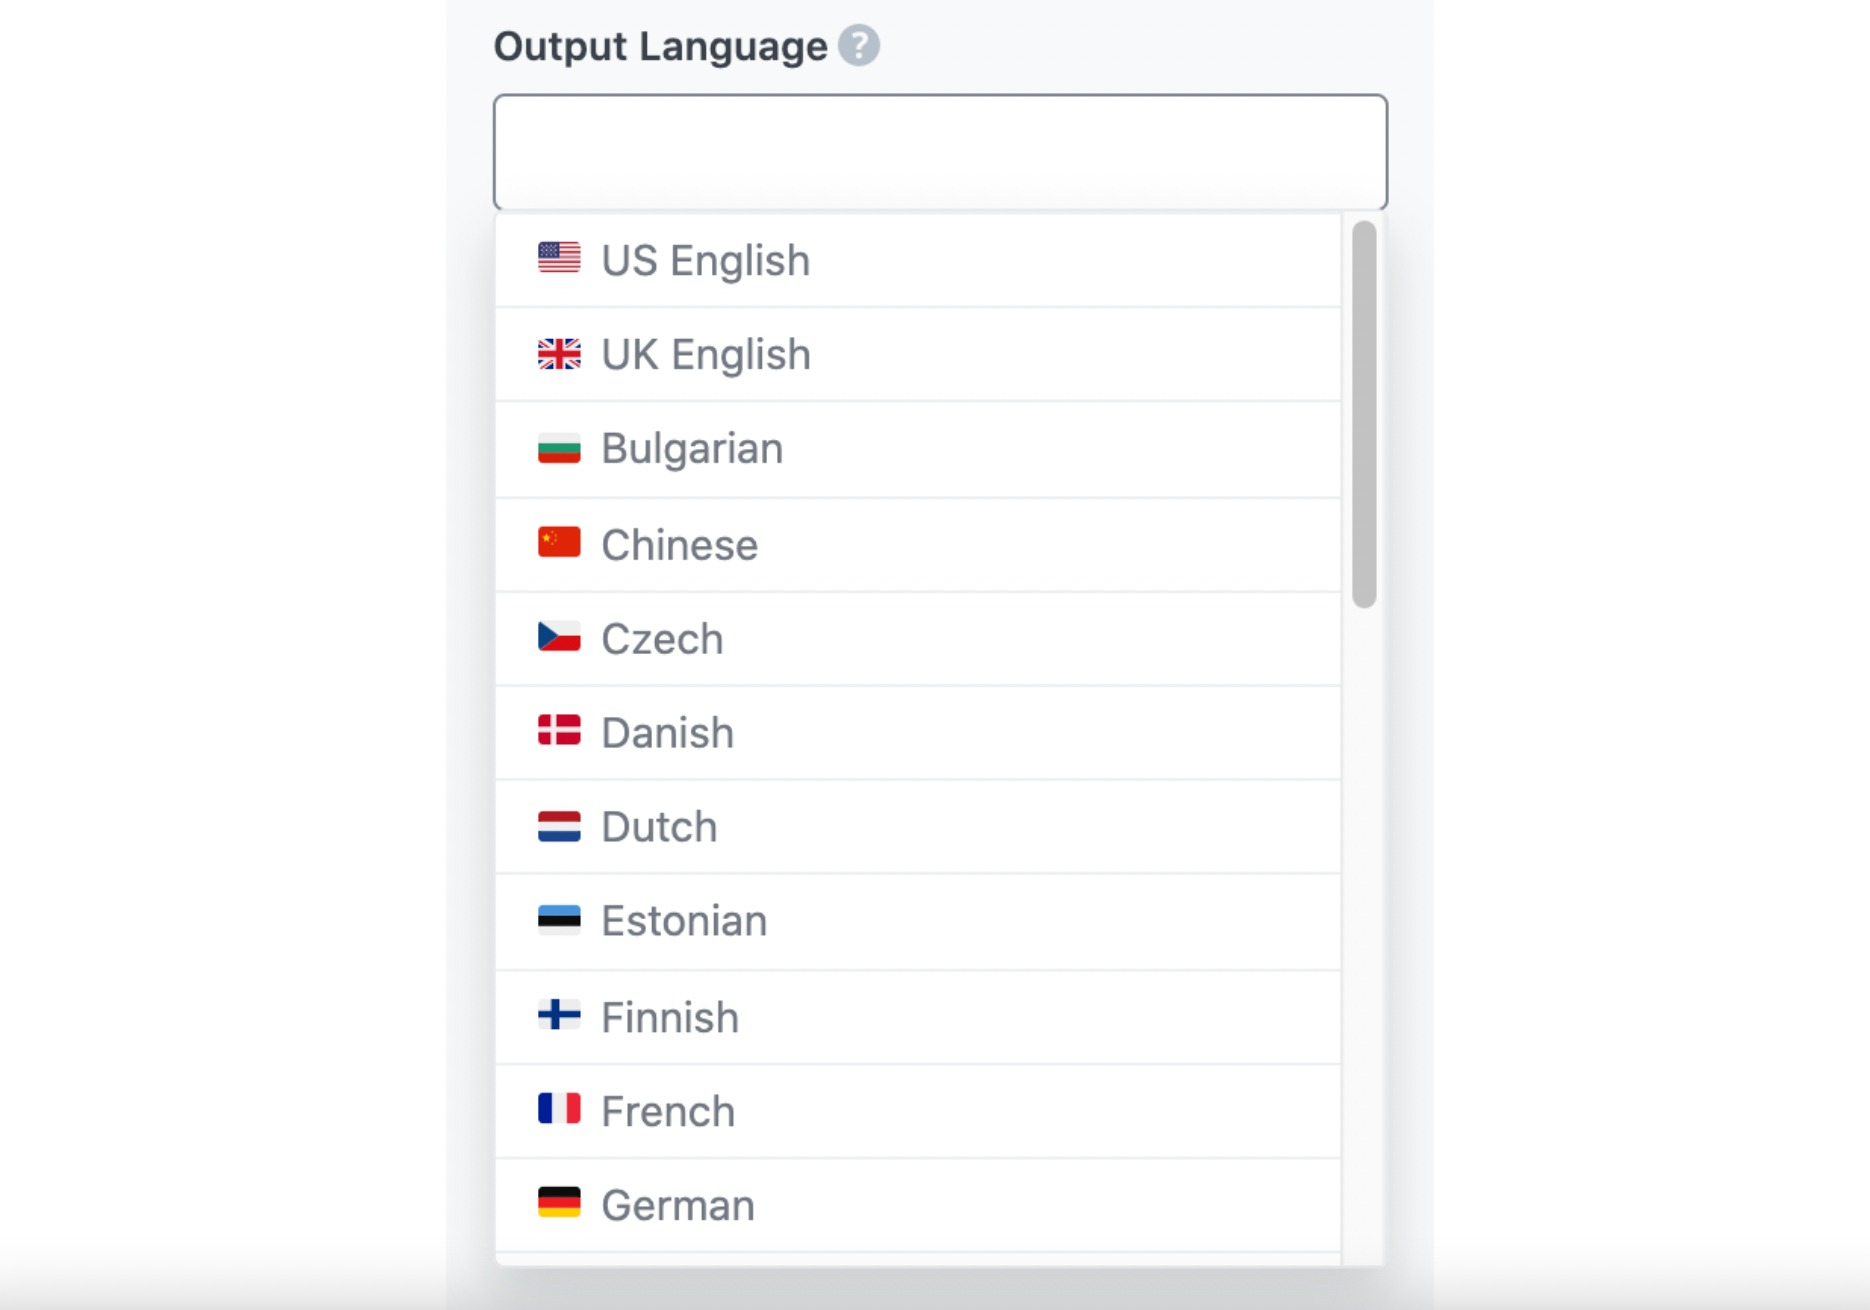
2.6 Output Language
Select the output language in which you want Content AI to generate an email reply. You can only enter one language. If the field already contains a language, delete it and select a new one.
See the full list of all the Output Language options we offer ➜
2.7 Number of Outputs
Enter a number between one and ten into this field, depending on how many replies you want to create.

2.8 Generate
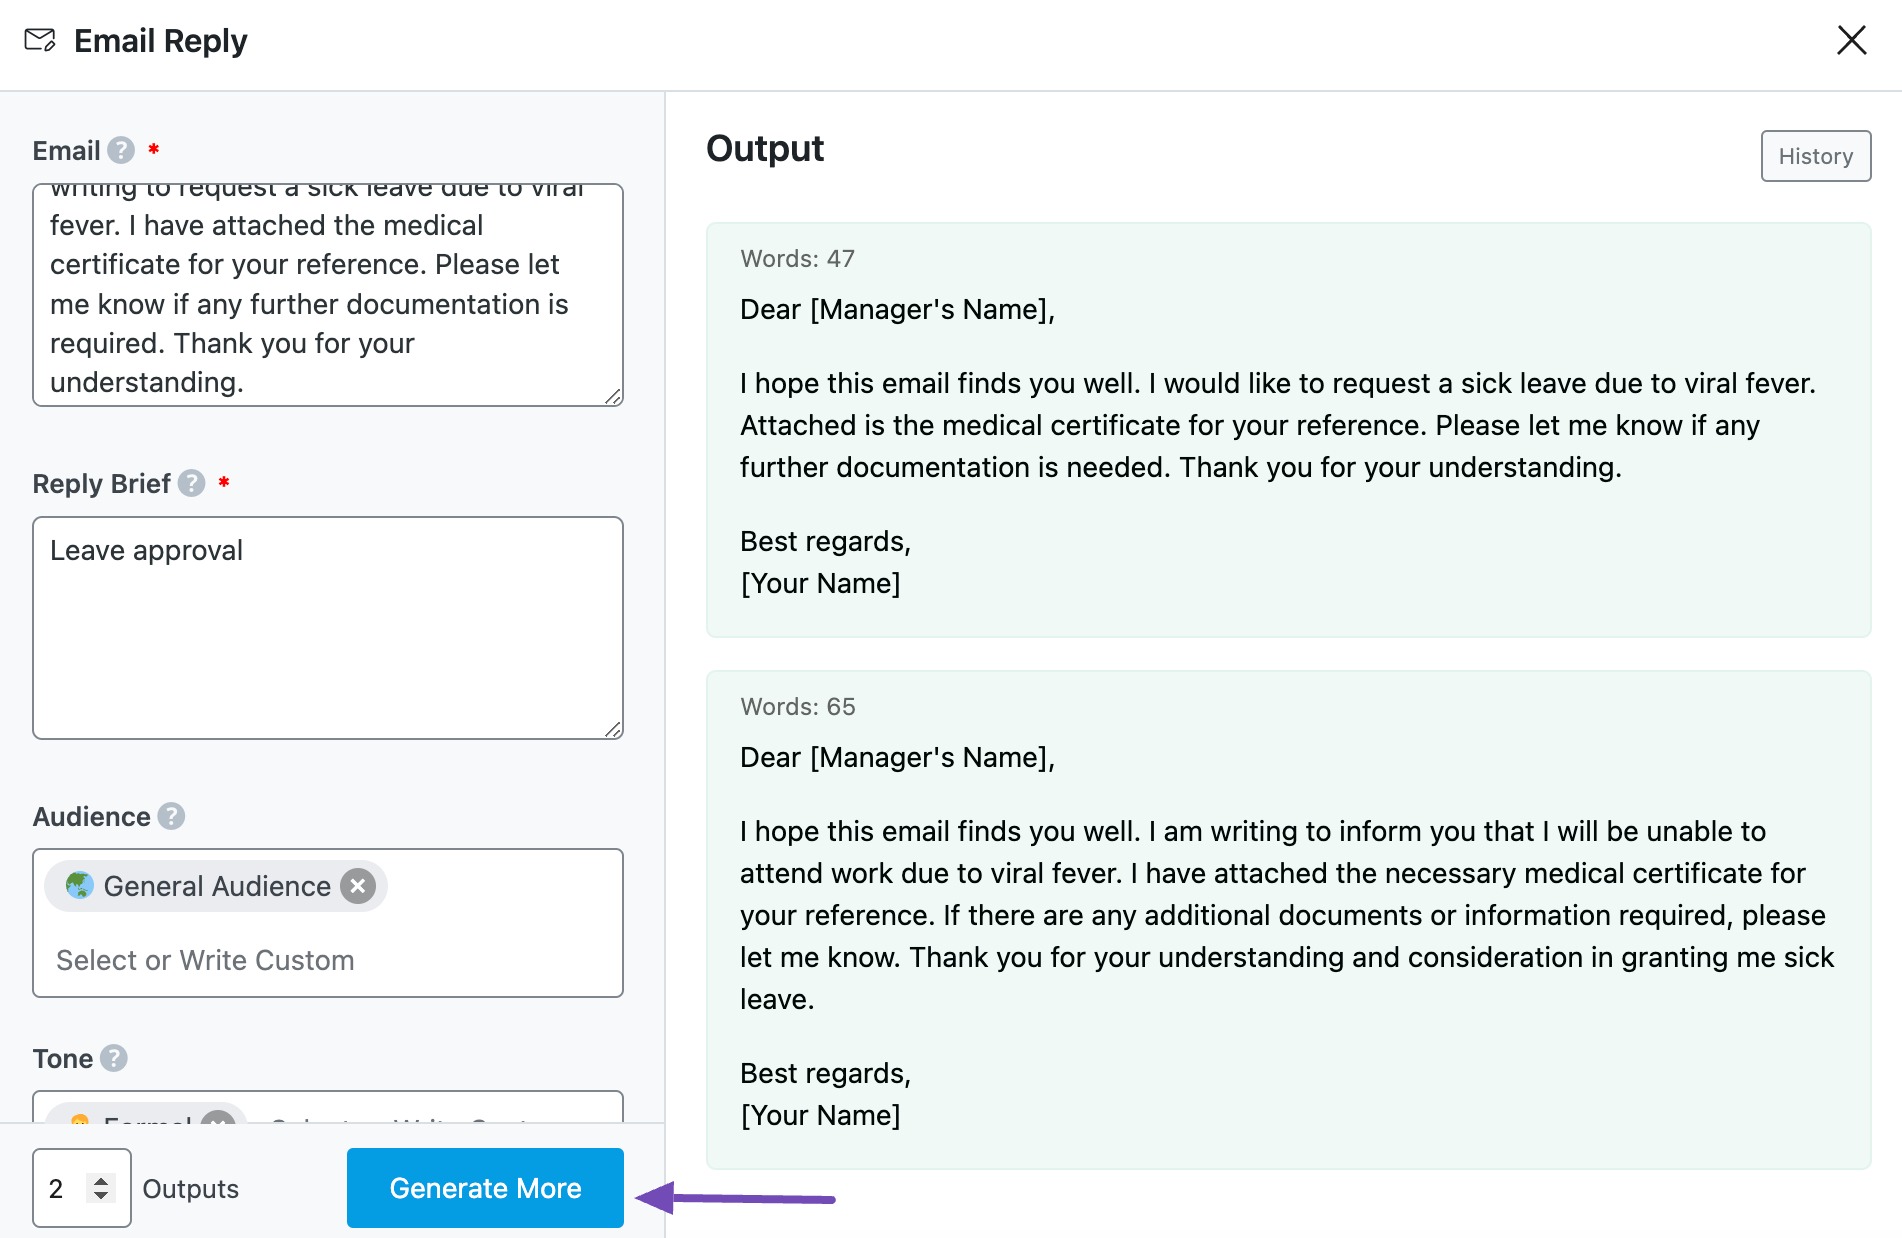
Click Generate after filling in the required fields. Content AI will begin creating your reply.
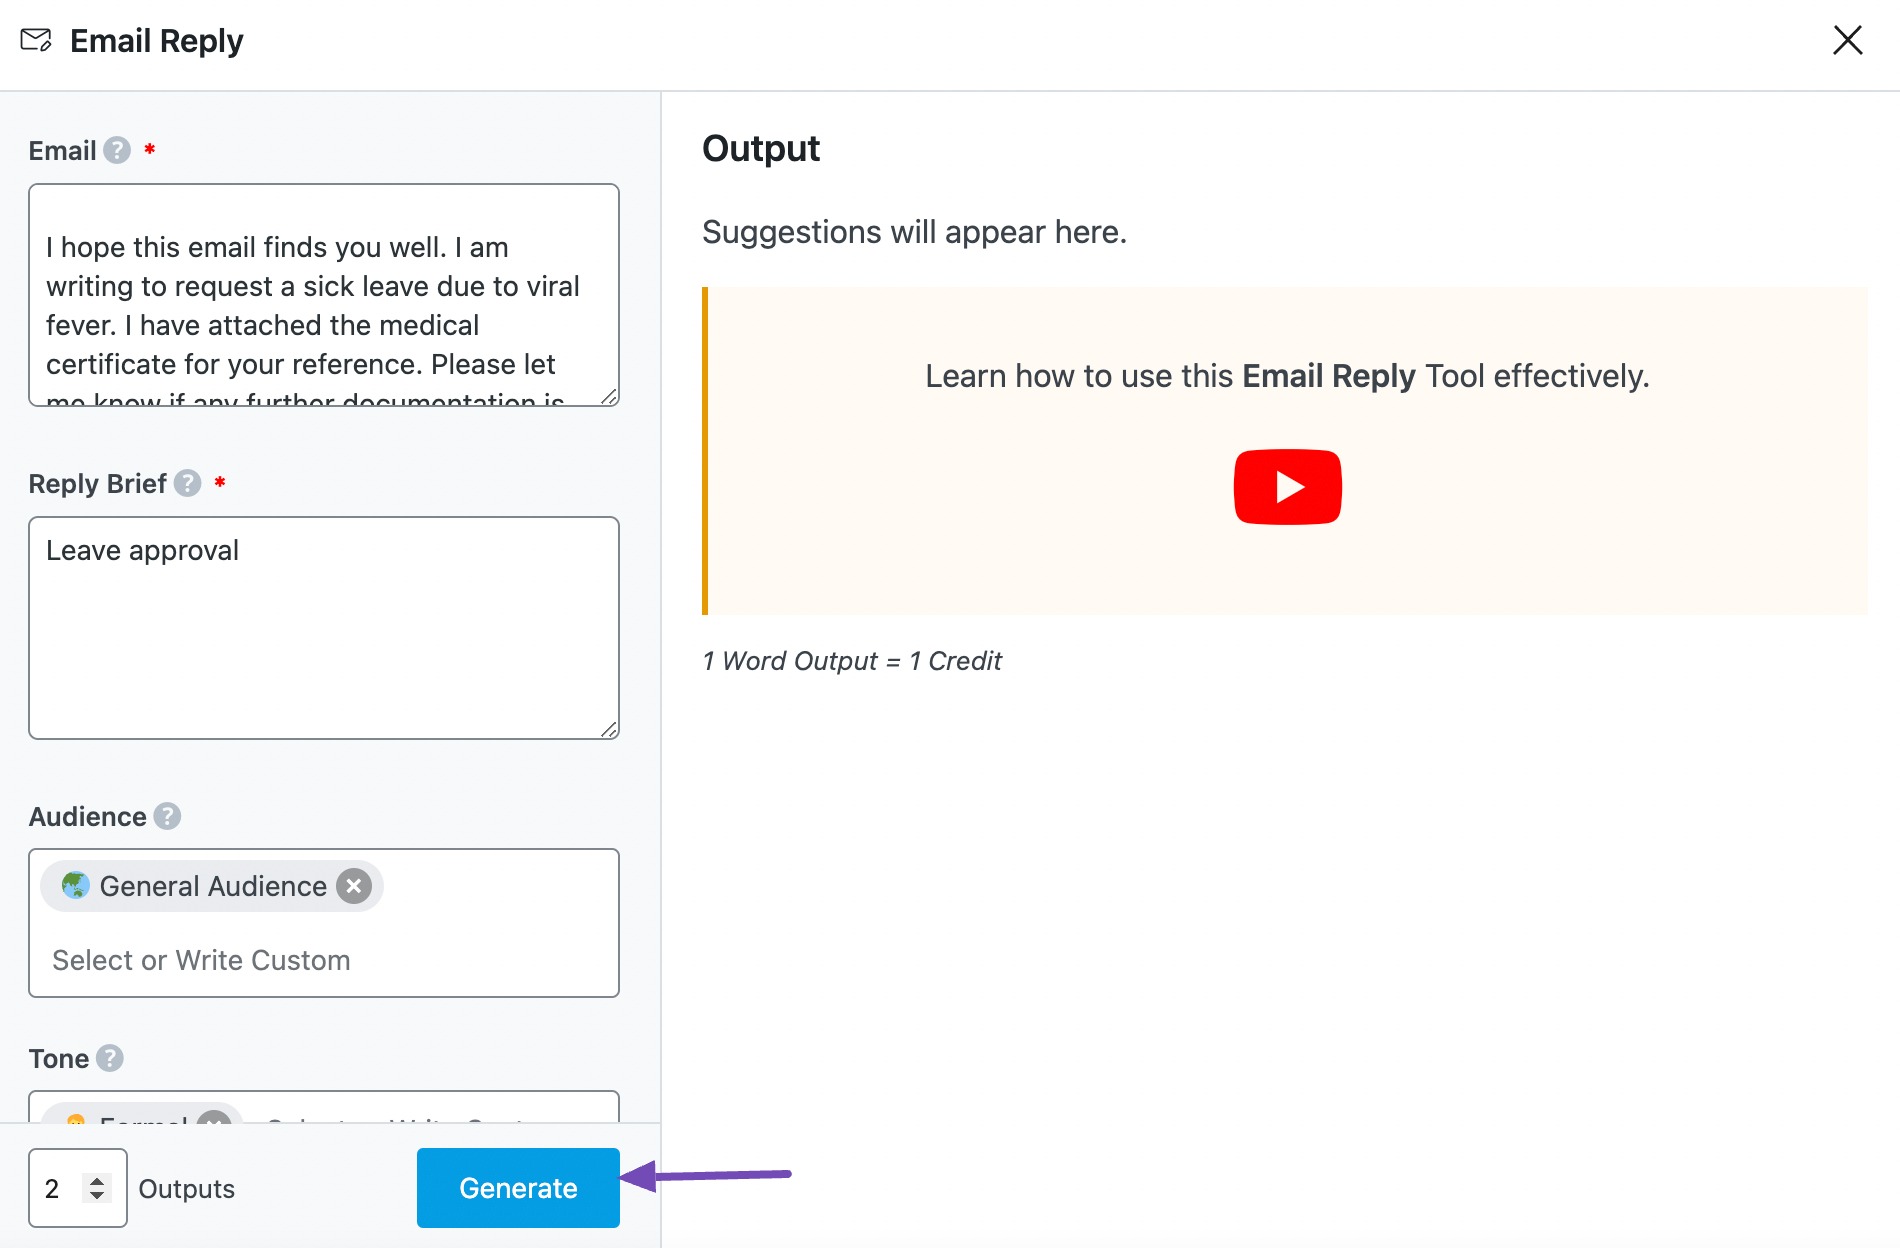
If you need more suggestions, click Generate More.
2.9 Insert
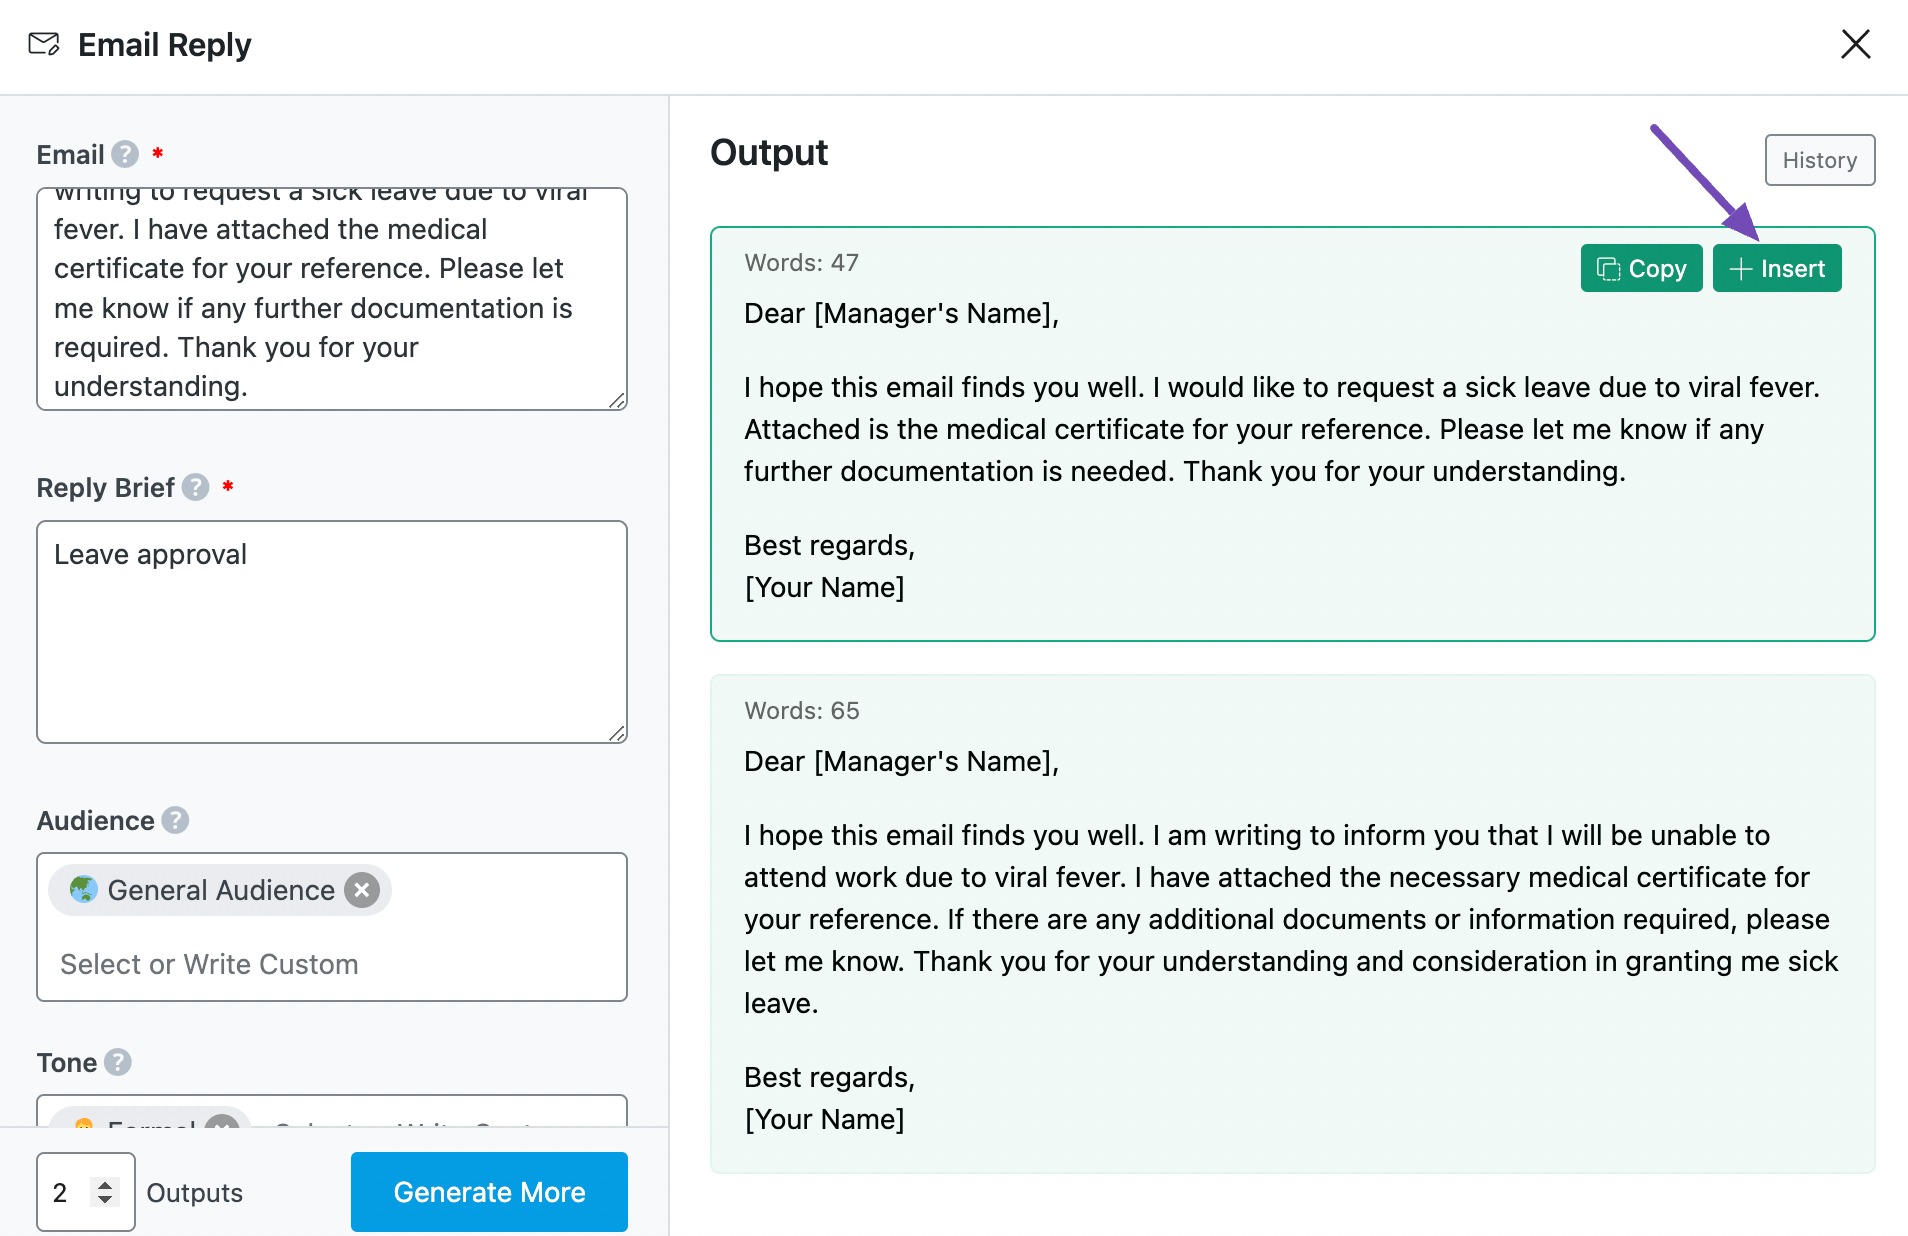
Hover over the reply and click Insert, as shown below. It will be inserted into your Content Editor. You can further develop it using the other AI tools available in Content AI.
3 Conclusion
That’s it. We hope you are able to craft an email reply using the Email Reply AI tool. If you still have any questions about using the Email Reply AI tool or any other AI tool available in Content AI – you’re always more than welcome to contact our dedicated support team. We’re available 24/7, 365 days a year…