Crocoblock has a range of plugins to help you build websites with Elementor page builder. JetEngine, a part of this plugin family, lets you create custom post types, custom taxonomies, meta fields and more. In essence, you can create dynamic content with JetEngine to use them with Elementor effortlessly.
In addition to that, JetEngine comes with native integration for Rank Math, so your dynamic content can be read and analyzed by Rank Math for offering more relevant SEO suggestions.
And, in this knowledgebase article, we will discuss all the SEO features you can access out of this integration.
1 Configuring Meta Fields for Rank Math Content Analysis
To allow Rank Math to parse the meta fields created with JetEngine, you can follow the exact steps discussed below.
1.1 Open JetEngine Dashboard
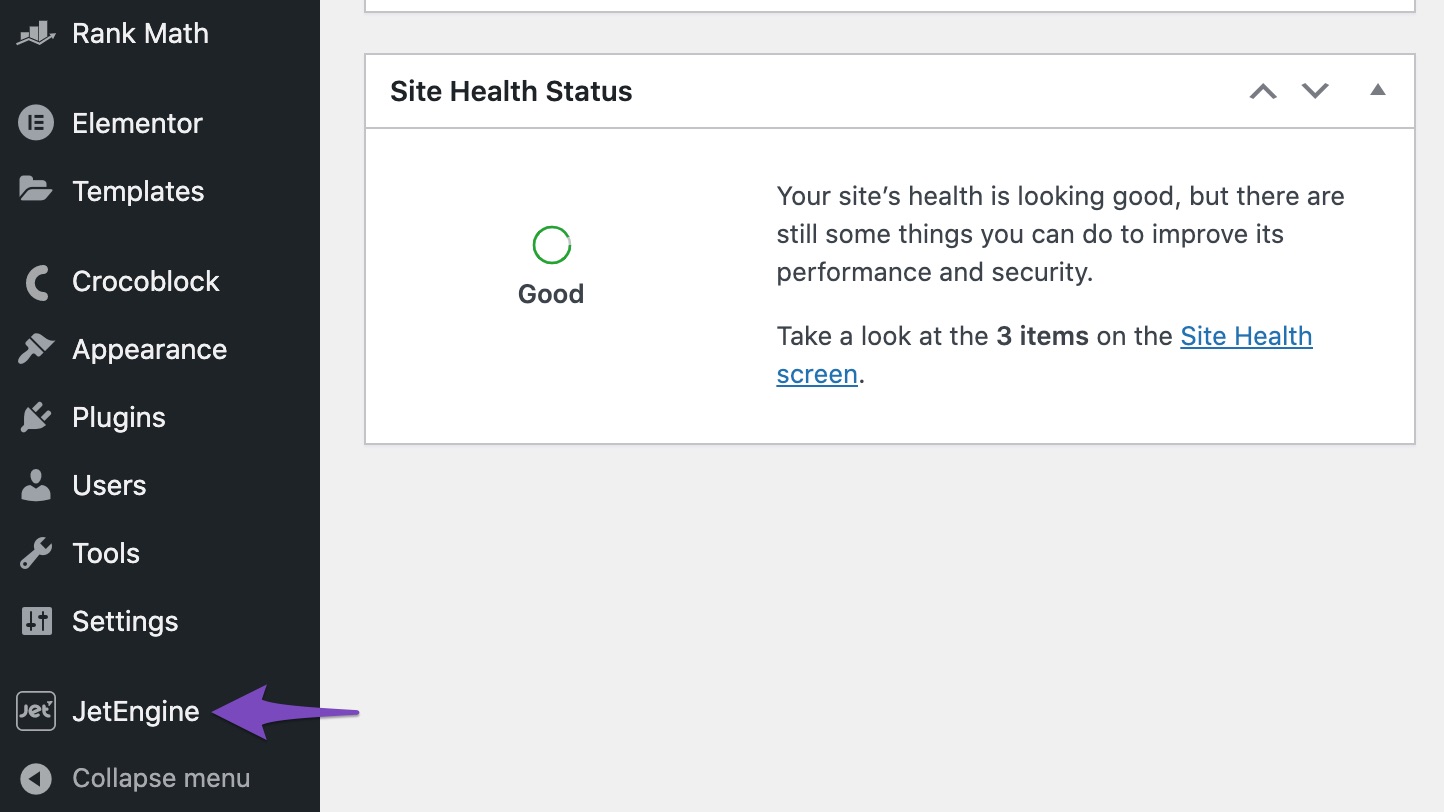
At first, head over to JetEngine → JetEngine Dashboard inside your WordPress admin area.
1.2 Navigate to SEO Tab
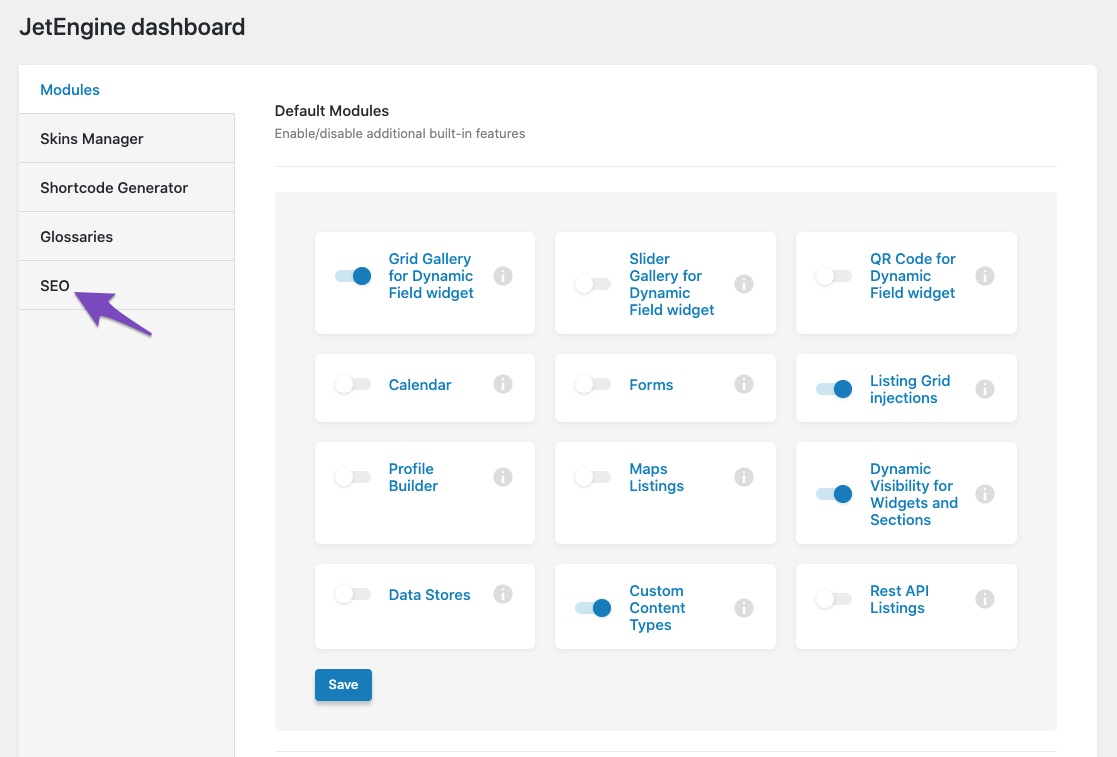
And then navigate to the SEO tab in your JetEngine dashboard. The SEO tab is visible only if you’ve installed and activated Rank Math on your website.
1.3 Choose Meta Fields
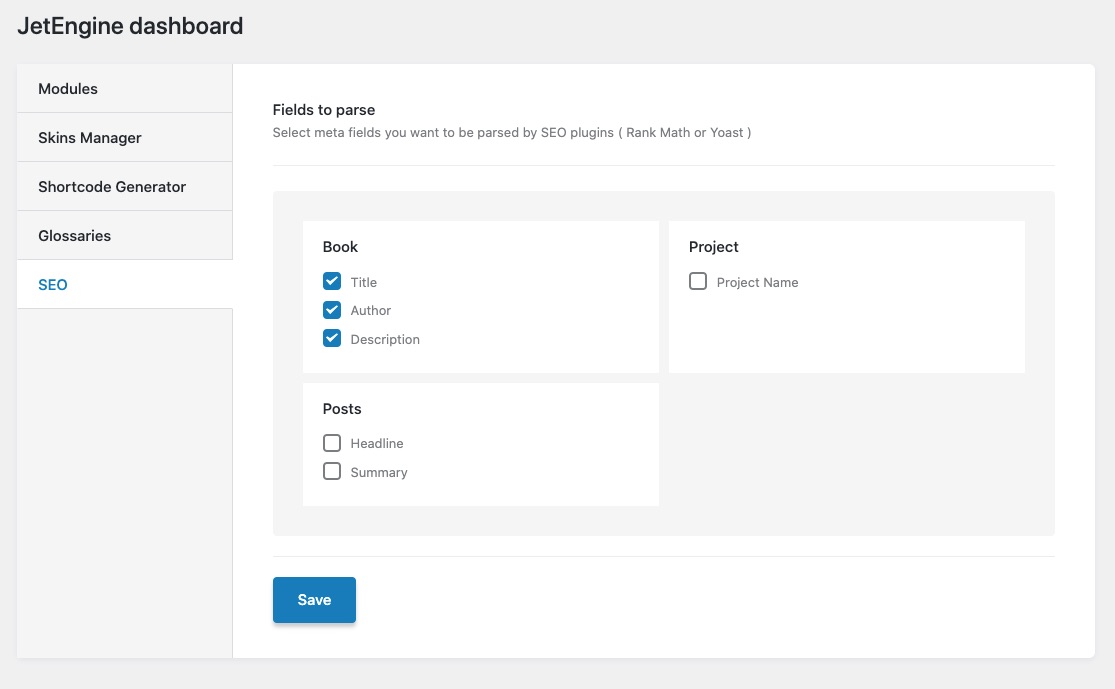
Now in the SEO tab, you can find a number of meta fields available under each post type. You can choose all the meta fields that you want to analyze with Rank Math.
Please note, currently, JetEngine supports only Text, Textarea, WYSIWYG, and Repeater field types to be parsed by Rank Math.
1.4 Save Changes
Once you’ve selected the meta fields, click the Save button at the bottom of the page.

Now that you’ve integrated Rank Math and JetEngine, content added to these fields will be considered by Rank Math during the content analysis tests.
2 Configuring SEO Settings for New Post Types
As you know, with JetEngine, you can create custom post types. And for the new post types that you create with JetEngine, you can configure SEO settings, just like the default post types available with WordPress.
To create a new post type with JetEngine, simply navigate to JetEngine → Post Types in your WordPress dashboard and then add the details of your new post type. You can also refer to their official KB for more details on configuring all the essential settings.
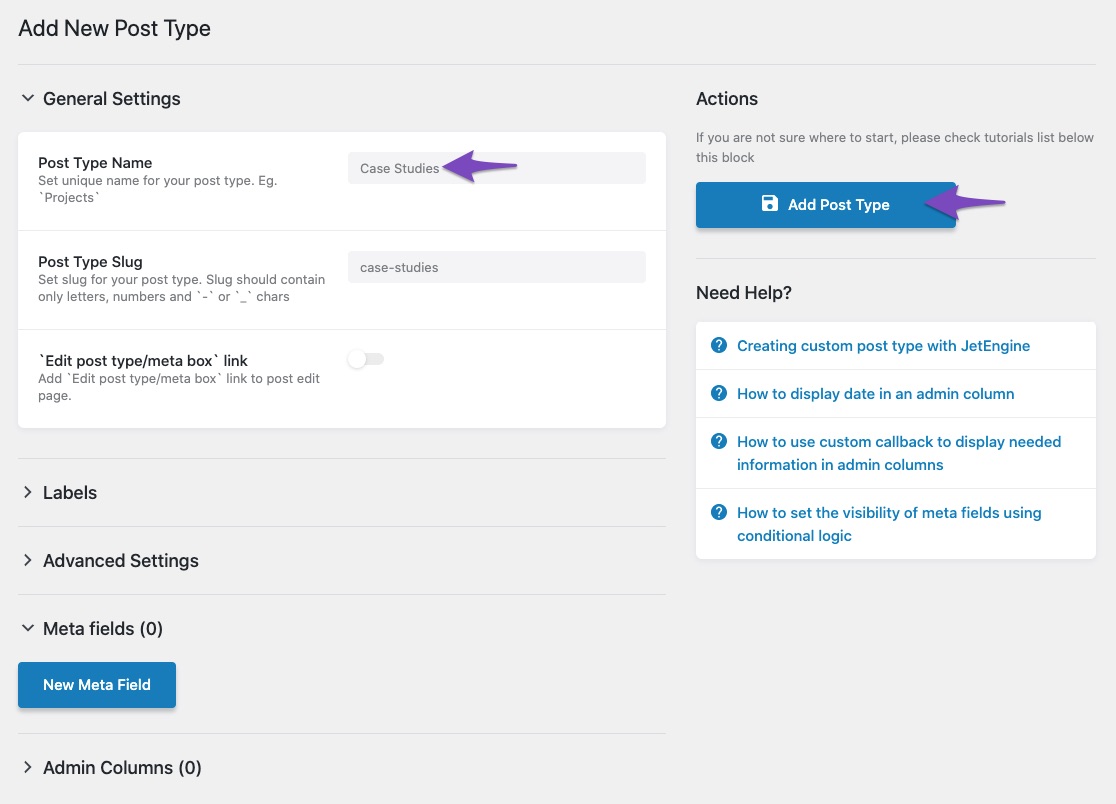
Once you’ve created a new post type, you can come across a Rank Math notice, as shown below, that takes you directly to the Titles & Meta settings and Sitemap settings for the newly created post type.

2.1 Titles and Meta Settings
Under the Titles and Meta settings, you can configure the title format, description format, default Schema and more, so that you don’t have to configure them individually for each post. We have got a detailed guide to help you configure them.
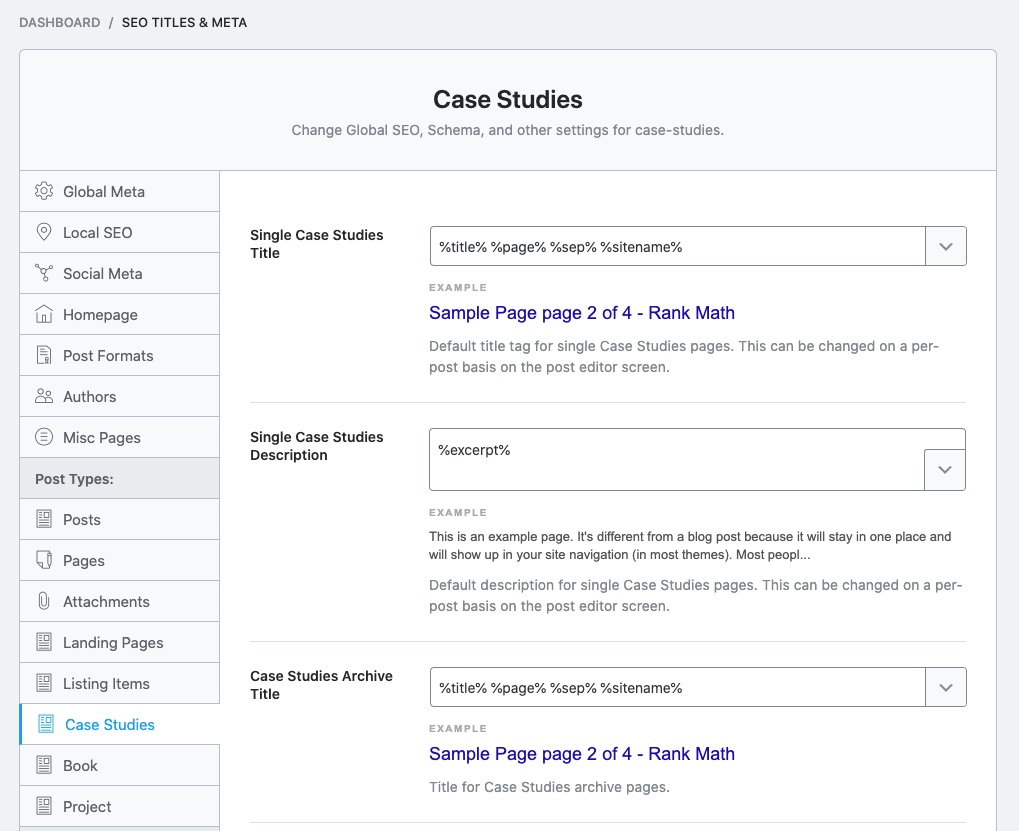
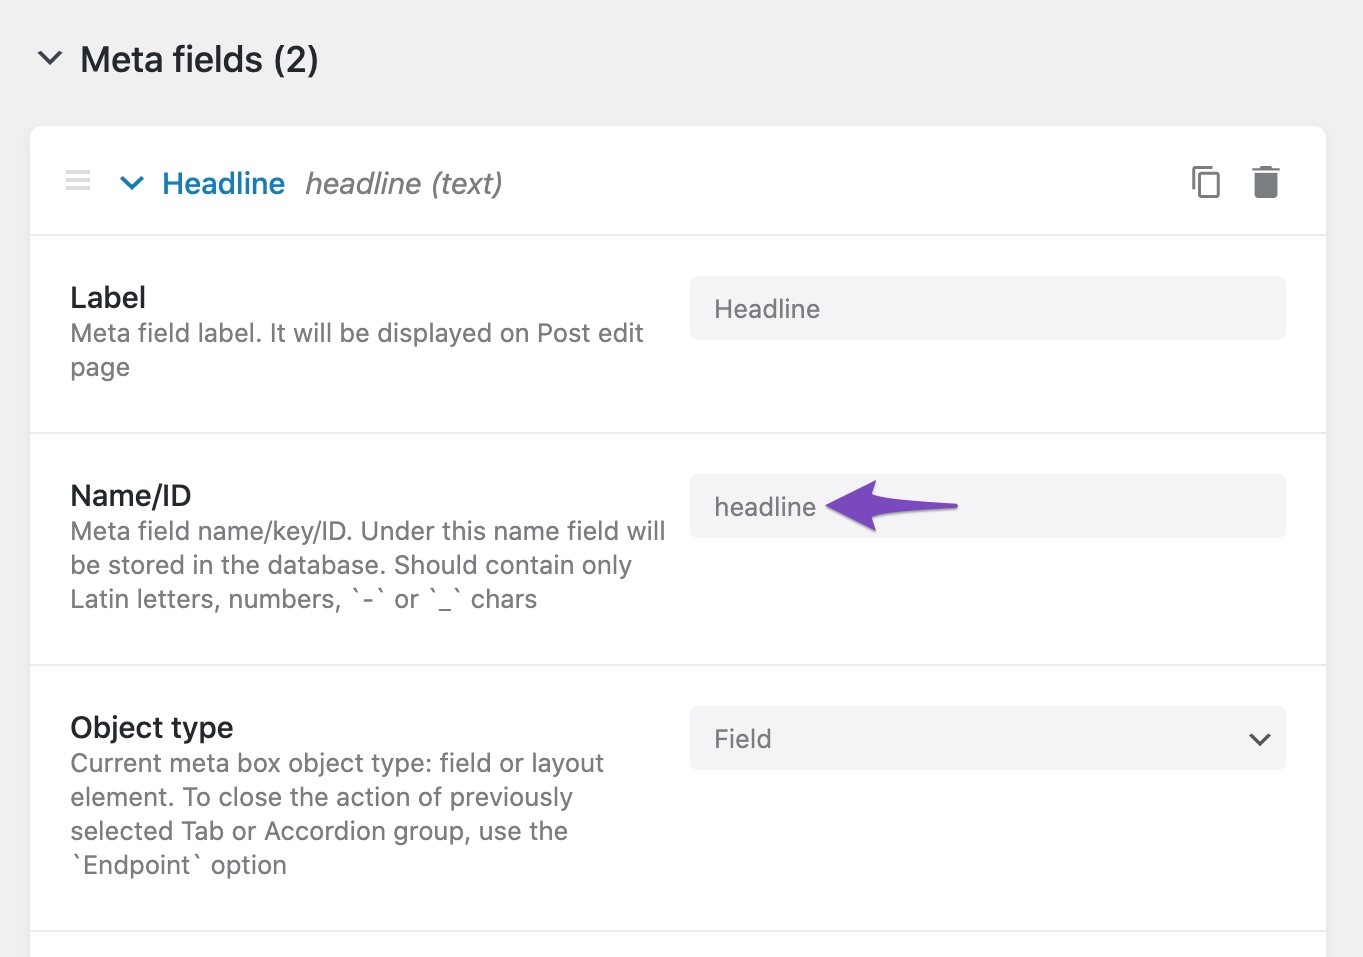
Not to forget, you can take advantage of the meta fields that you create with JetEngine in your title and description format. Rank Math includes a custom field variable %customfield(field-name)% that will help you with this. Just replace the field-name with the Name of the Meta fields, exactly the same way as shown in JetEngine.
2.2 Sitemap Settings
When you create a new post type, you can also decide if you want to include/exclude these posts into your sitemap.
Since JetEngine lets you create meta fields for images as well, and if you’re using them in this post type, make sure to include these field names in the Image Custom Fields, so that Rank Math can include them in the sitemap.
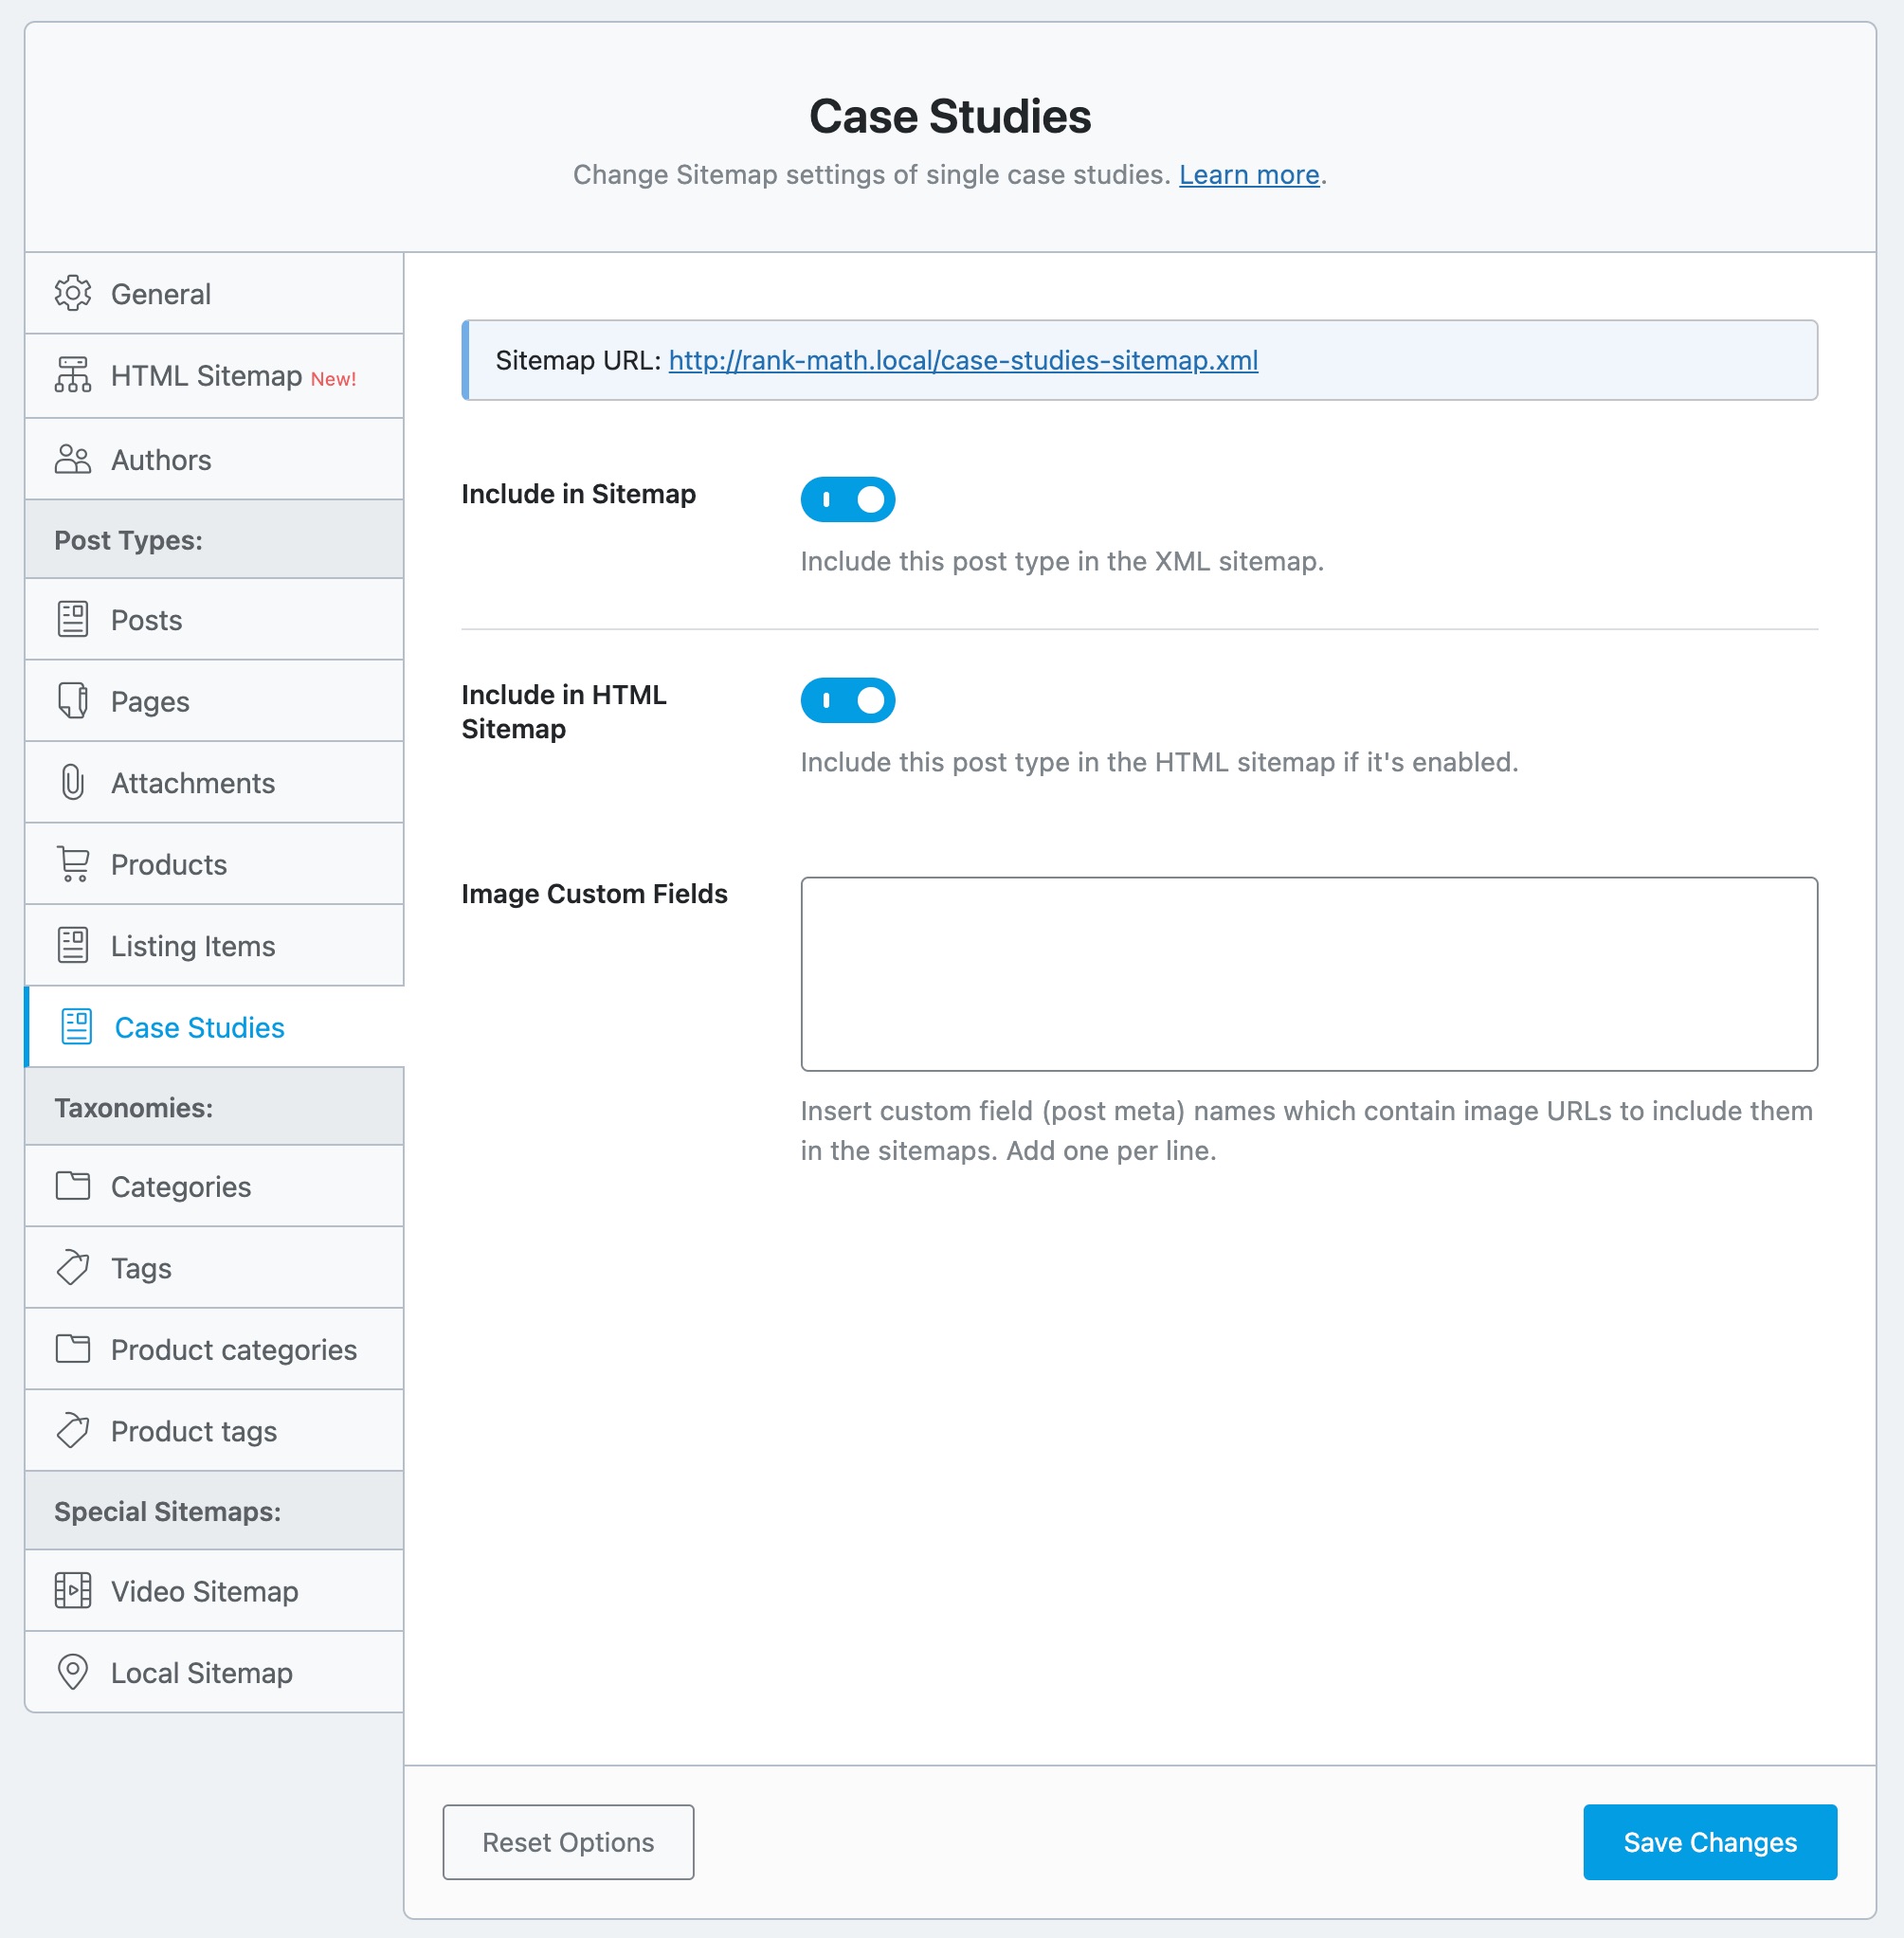
This is how you can configure the Titles & Meta settings and Sitemap settings for any post type that you create with JetEngine. Similarly, you can also configure Rank Math for any custom taxonomies that you create with JetEngine.
Now that JetEngine is natively integrated with Rank Math, you can start analysing your posts with Rank Math for more relevant SEO suggestions. And if you haven’t started using Rank Math yet, install and start optimizing your website with Rank Math in no time.
If you’ve absolutely any questions on using Rank Math features, please feel free to reach our support team directly from here, and we’re always here to help.